Hello Everyone.
I know it has been a while but I am still around, teaching classes from home and working on more kits. I am also teaching on a cruise ship in February - there are limited spaces if anyone would like to join me. You can contact me if you want to know more, I will do a post next week with more information on the cruise and the other teachers and what I am planning on teaching.
Today was a very hot Adelaide summer day and Kate and my youngest grandson Joey (9 months) spent the day with me in front of an air-condition.
I have been busy over the past few weeks kitting up a heap of new projects, writing the instructions and inking and painting some of the embellishments. Some kits are old favourites that I have taught at Expos but just never got around to kitting and putting on line.
Kate and Joey have put them all online and they are ready to go.
Just click on the link to find them.
Janes New Kits - they are under "New in Store" on our website.
So there are three new card kits and 11 new layouts.
Next week Kate and I with Joey's help will be doing the finishing instructions for the Raining Cats and Dogs book and box, so we are hopping to have it ready before Christmas then you can do it over the New Year Holidays. I will be in touch with everyone who has placed a pre-order.
Here are some of the new kits ready to go.
Controlled Mayhem to Dazzle and Delight Kit $19.
Happy Days at the Beach $18
Happy Memories $24
Make a wish on a Starfish $19
School Days $17
You put a spell on me $16.
Happy Days $40
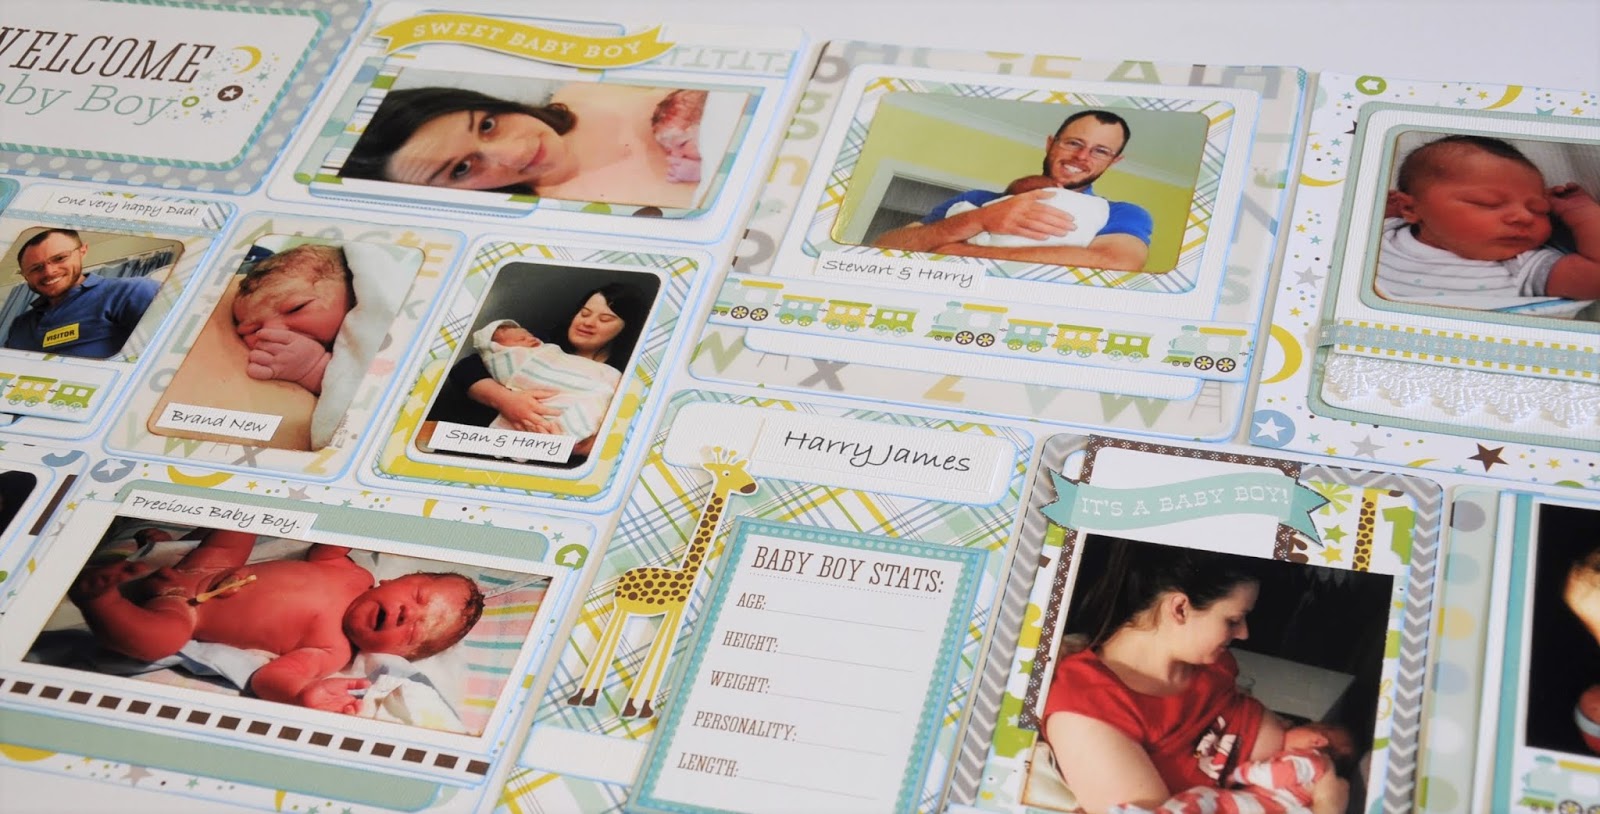
It's a Boy Thing $40
Once upon a Spring Time Double Layout $28.
Christmas Magic Cards $25
Safari pop out Cards $25
Nature's Sketch Book Cards $26
We have limited amounts of some of these kits due to the papers used being discontinued. So if you are wanting a particular kit then don't leave it too long before ordering.
I have another 6 kits nearly ready to go, they include more layouts, some patchwork kits and some more project life style layouts.
so I hope you find one or two kits you like and have the perfect photos for.
thanks for looking and see you soon.
Jane